Crafting a Stunning Bebe au Lait Burp Cloth Diaper Cake: A Step-by-Step Guide

Diaper cakes have long been a beloved centerpiece at baby showers and a cherished gift for new parents. These charming creations are not only visually appealing but also practical, as they often include essential baby items like diapers.
However, if you're looking to put a unique twist on this classic baby shower tradition, why not consider making a diaper cake using Bebe au Lait burp cloths instead? I know 'Burp Cloth Diaper Cake' doesn't sound very fancy, but really, does 'Diaper Cake'??
In this step-by-step guide, we'll show you how to craft a stunning Bebe au Lait burp cloth diaper cake that's sure to impress both the mom-to-be and the guests.
Materials You'll Need:
- Bebe au Lait burp cloths (quantity depends on the size of your cake)
- Round cake platter or cardboard base
- Empty paper towel cylinder
- Large-sized elastic bands
- Ribbon
- Baby accessories (pacifiers, baby socks, teething toys, etc.)
- Decorative items (flowers, baby-themed decorations)
- Scissors

Step 1: Gather Your Burp Cloths
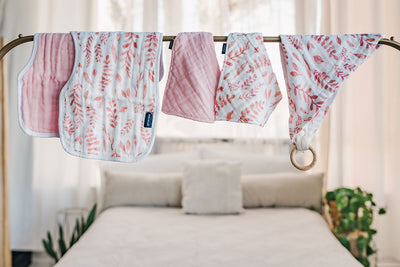
The first step in creating your Bebe au Lait burp cloth diaper cake is to gather the burp cloths you'll be using. Bebe au Lait burp cloths are known for their softness, durability, and adorable designs, making them a perfect choice for this project. We recommend these burp cloths that are currently on sale – 9 burp cloths for $9
Step 2: Roll the Burp Cloths
Lay out your burp cloths flat and fold them in half lengthwise. Then, begin rolling each burp cloth from one end to the other, creating a cylinder shape. Place the empty kitchen towel roll in the center of the platter, and place the over-sized elastic band over it, so it rests on the bottom of the platter. Begin placing each rolled burp cloth around the tube, creating a round base of cylindrical burp cloths, and tuck them into the elastic band so they hold their form.
Bottom layer: Approx. 12
Middle layer: Approx. 8
Top layer: Approx. 3
Step 4: Build Additional Layers
Continue rolling and arranging Bebe au Lait burp cloths to create additional layers, stacking them on top of the base layer. Gradually decrease the number of burp cloths in each layer as you move upward, creating a tiered effect.
Step 5: Decorate Your Cake
Now comes the fun part – decorating your Bebe au Lait burp cloth diaper cake! Use ribbon to cover the elastic bands and tuck in the tail end of the ribbon on the back side of the ‘cake’ Add baby accessories like pacifiers, baby socks, and teething toys between the layers for an extra special touch.
Step 6: Personalize and Adorn
Get creative with your cake's decoration by adding personalized touches like a baby's name or a heartfelt message. You can also embellish the cake with flowers, baby-themed decorations, or any other items that suit the baby shower theme. We used olive branches for a clean, boho look!
Step 7: Present Your Masterpiece
Once your Bebe au Lait burp cloth diaper cake is complete, carefully transfer it to the baby shower venue or the gift table. Be prepared for oohs and aahs as your unique creation steals the show!
Crafting a Bebe au Lait burp cloth diaper cake is a delightful way to put a fresh spin on a beloved baby shower tradition. With its softness, functionality, and charming designs, Bebe au Lait burp cloths are the perfect choice for this creative project. So, gather your materials, follow our step-by-step guide, and get ready to impress the mom-to-be and shower guests with your beautiful and practical gift.
Incorporating Bebe au Lait burp cloths into your diaper cake not only adds a touch of luxury but also ensures that the new parents will have a stash of high-quality burp cloths to keep their little one clean and comfortable in style.
Happy crafting, and enjoy the joyous celebration ahead!